Pin the paper pattern to the folded fabric. Make sure your trank is inside out i e.
 Free Beginner S Sewing Project Fingerless Glove Maimy
Now once you ve traced your hand sew along the lines.
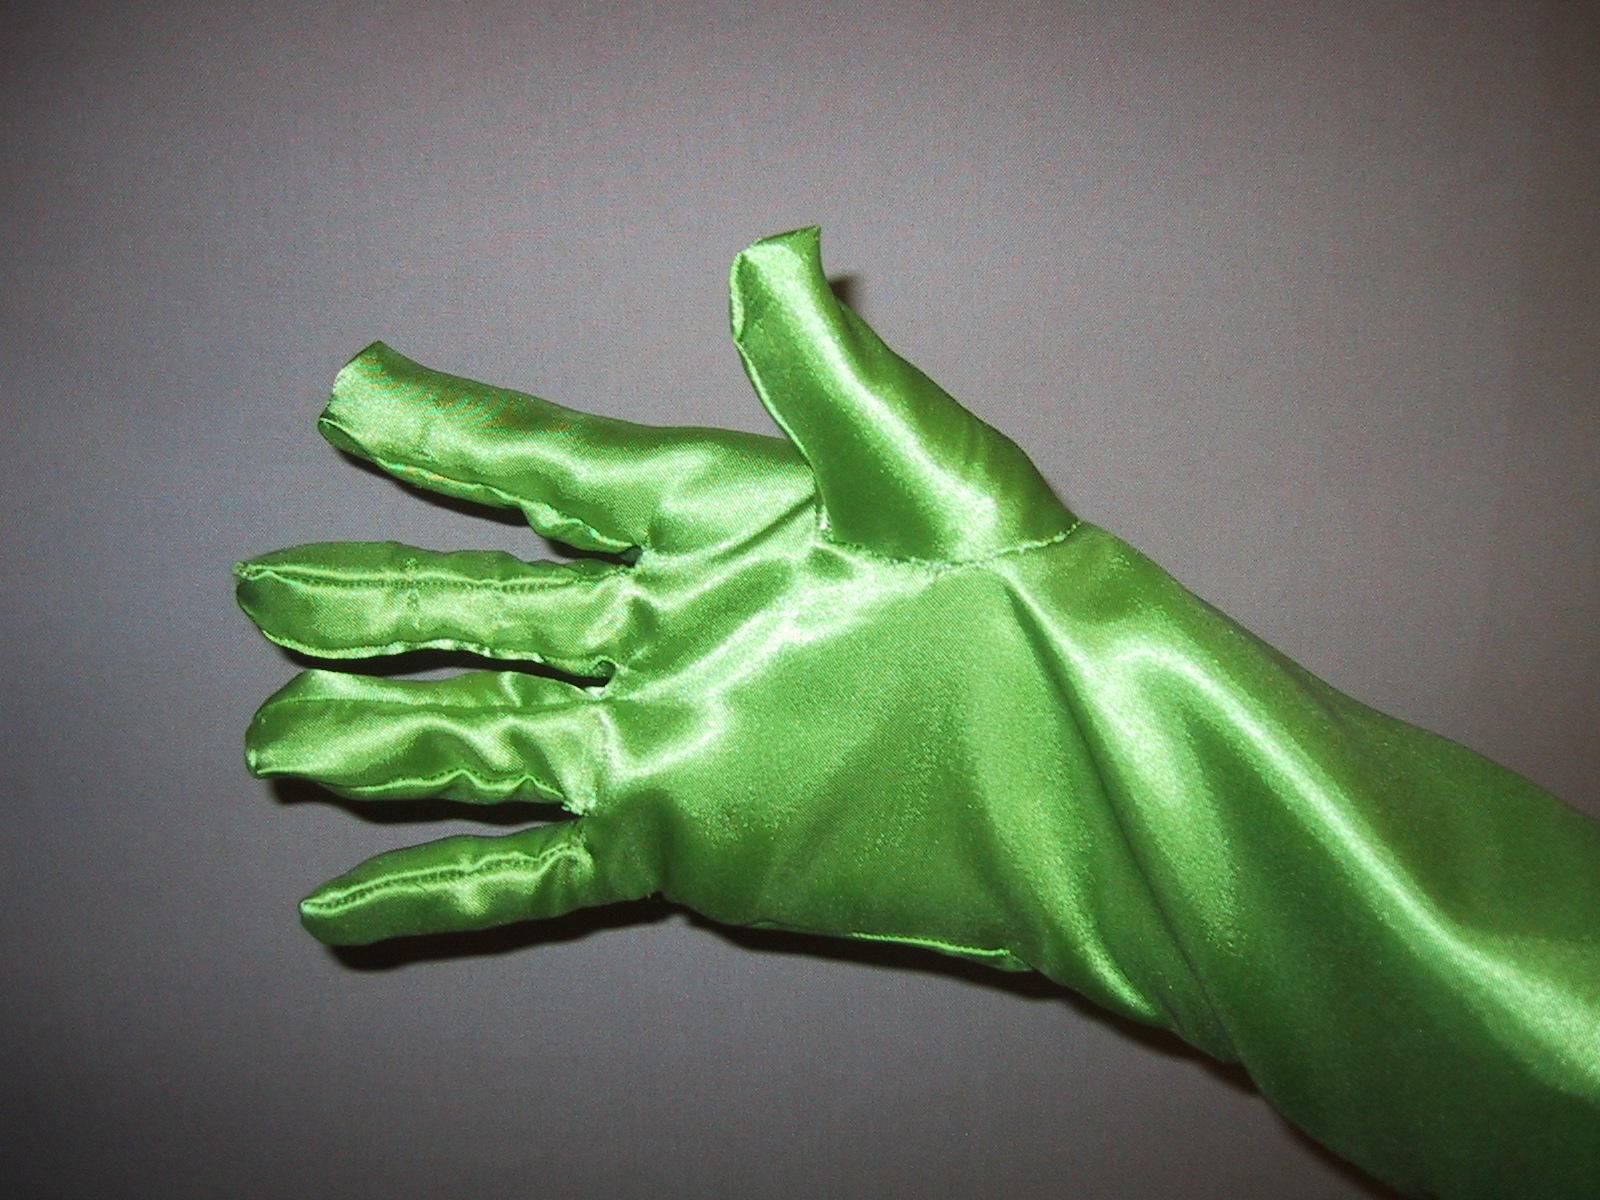
How to sew gloves. Pull the bottom of the ribbing back up and you have your gloves. Sew the wrist to the top of the forefinger continuously. Stitch the thumb into the hole.
With the fabric pieces right sides out insert the gloves inside the ribbing and pin. Sew the thumb i k i. You can try it on to see if it fits and for amusement value.
First lay out two layers of the fabric you are going to use. B c d and d e f and f g h. Now just cut out the webbing leave about 1 8 in.
Make gloves for yourself step 1. How to sew a glove sewing the glove fold a piece of fabric that is large enough for the entire glove pattern. Cutting out your gloves.
These parts are for the left hand. Print the pattern out on the a4 paper. Using a sewing machine stitch the finger gussets and thumb cover on each glove.
Trace along the edges of the paper pattern with a pen or fabric marker. Sew using a inch seam allowance first with a zig zag stitch followed by a straight stitch. Sew the gussets to the back of fingers.
Once your thumb is stitched together turn it inside in. Remove the pins from the paper pattern and insert pins through the. Getting the right size.
Sew the side seam of the thumb from the tip to the notch. Needs 0 2 0 3cm of seam allowance. Right sides together and put the thumb in the thumbhole.
Sew down the outer seam of the glove along the little finger and gently turn the glove right side out. Sew the thumb to the hole of the palm i j i. This video gives an example of how to sew gloves.